

Lighting your way to better photos.
Of course, there is no substitute for having adequate working knowledge of the camera system, while a good eye for composition is a bonus. The key factor in creating dynamic, creative and impactful underwater images is understanding the light.

Contributed by
Factfile
Beth Watson is an awarding-winning, internationally published underwater photographer based in the U.S. state of Missouri.
For more information, visit: www.bethwatsonimages.com.
Learning and understanding how light falls on the subject and having the ability to control and shape the light is crucial! Lighting is what creates the mood and atmosphere of any image.
Characteristics of light
The harshness and softness of light play a key role in the shape, appearance, dimension and texture of an image. It is important to know when to add light and when to subtract it. Direct light will cast harsh shadows while diffused light will create a much softer look. Shadows will be cast on the opposite side of the light source. A small light source produces hard, directional light with a narrow beam, while a large light source will produce a softer light with a wider beam.
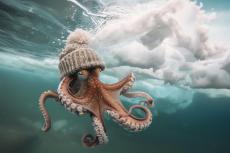
The direction and angle of light will dictate its quality. Light coming from an angle will produce texture and drama, and create character. Direct light coming from a standard flash camera position will usually be flat and unflattering, revealing minimal shape and texture. Angling the light sources will produce more interesting results.
The color temperature is a characteristic of visible light and refers to the warmth or coolness of an image, and affects its mood and feel. A warmer image will have more yellow and red tones while a cooler image leans towards the blue spectrum. Color temperature is measured using the Kelvin scale: a higher number reflects a cooler temperature and a lower number reflects a warmer tone. The white balance setting on the camera, photo-editing software and filters will give the photographer control over the color temperature.
Water is denser than air, resulting in the loss of visible colors very quickly. Red is the first color to be absorbed and is no longer seen at five meters (15 feet); orange, yellow, green and blue are the next colors to be absorbed. Due to the absorption of light, artificial lighting is needed. Otherwise, images will lack color and contrast.
One-strobe lighting techniques
Front-top lighting
Front lighting is typically done by placing a strobe directly above the lens port. Aiming the strobe downwards at a 45-degree angle will give the image depth and texture, and the colors will pop. Positioning the strobe directly on the subject will result in a flat and lifeless image. Another alternative is to place the strobe directly over the top of the subject, so that directing the light downward will create interesting shadows.
Side lighting
This technique can be very effective in producing high-quality images, especially when using a single strobe. Positioning the strobe at the left or right of the camera creates shadows, giving the image depth, and accentuate textures.
Backlighting
Place the light source behind the main subject, and observe how the light falls upon it. What is the desired outcome? The use of a constant light source often works well in this situation and can provide instant feedback. Double-check the exposure of each image, as overexposure presents a problem when too much light spills out from around the subject. Camera angle, distance and height of the subject in relation to the camera, and distance from the subject to the light source are other variables that need to be taken into consideration.
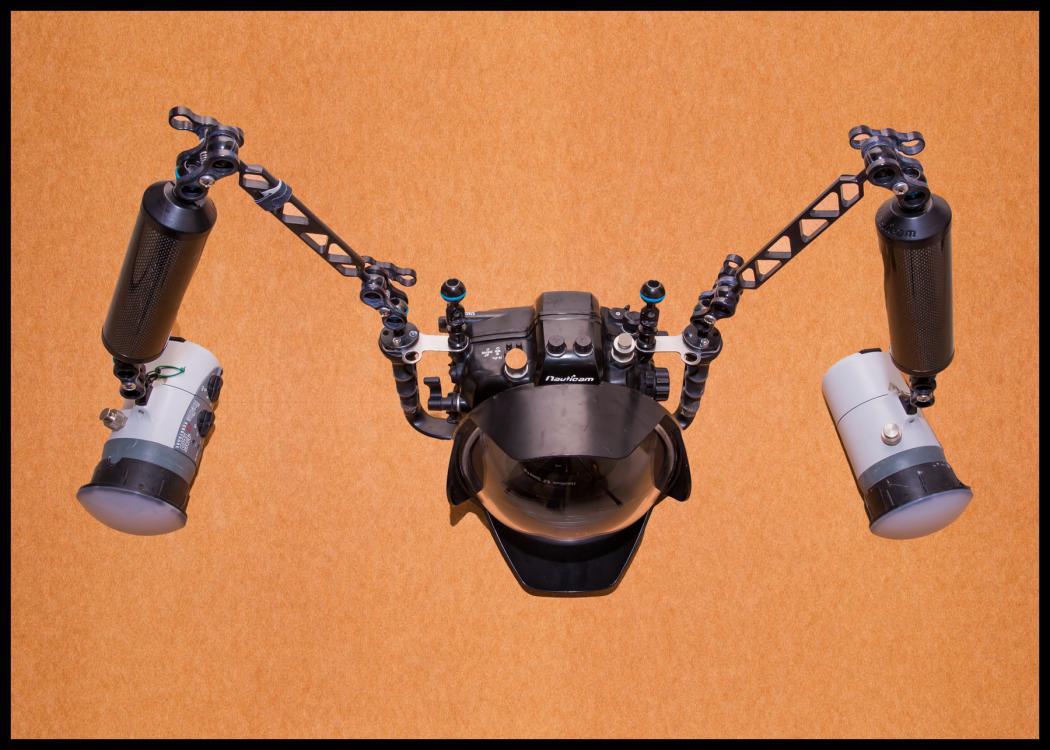
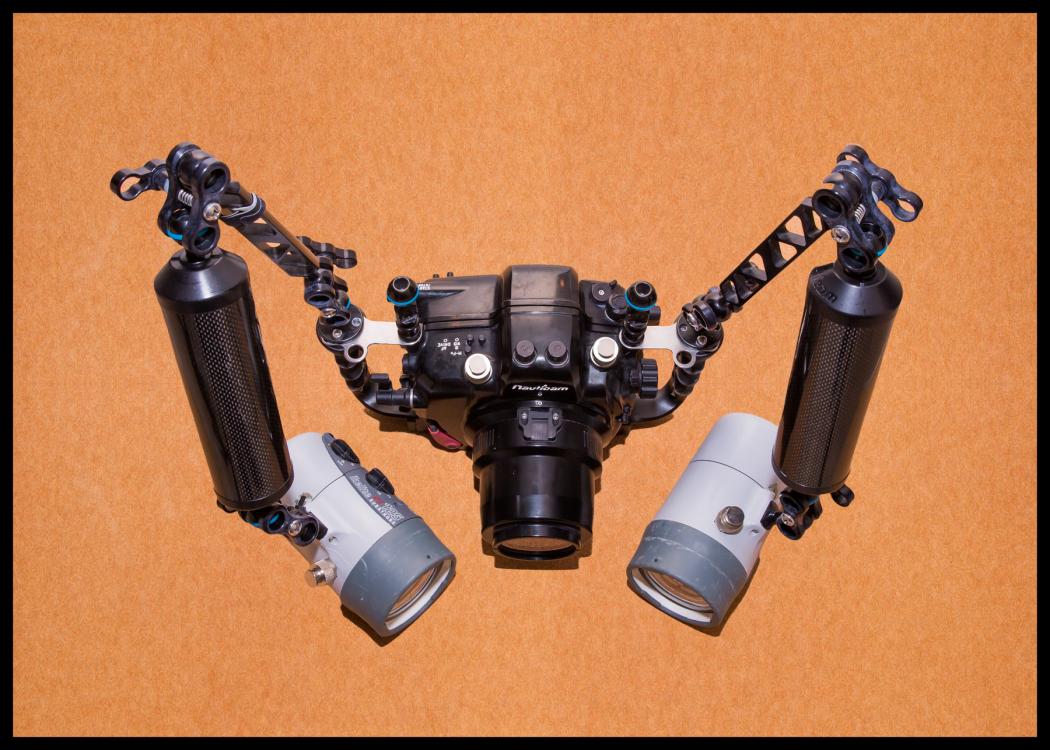
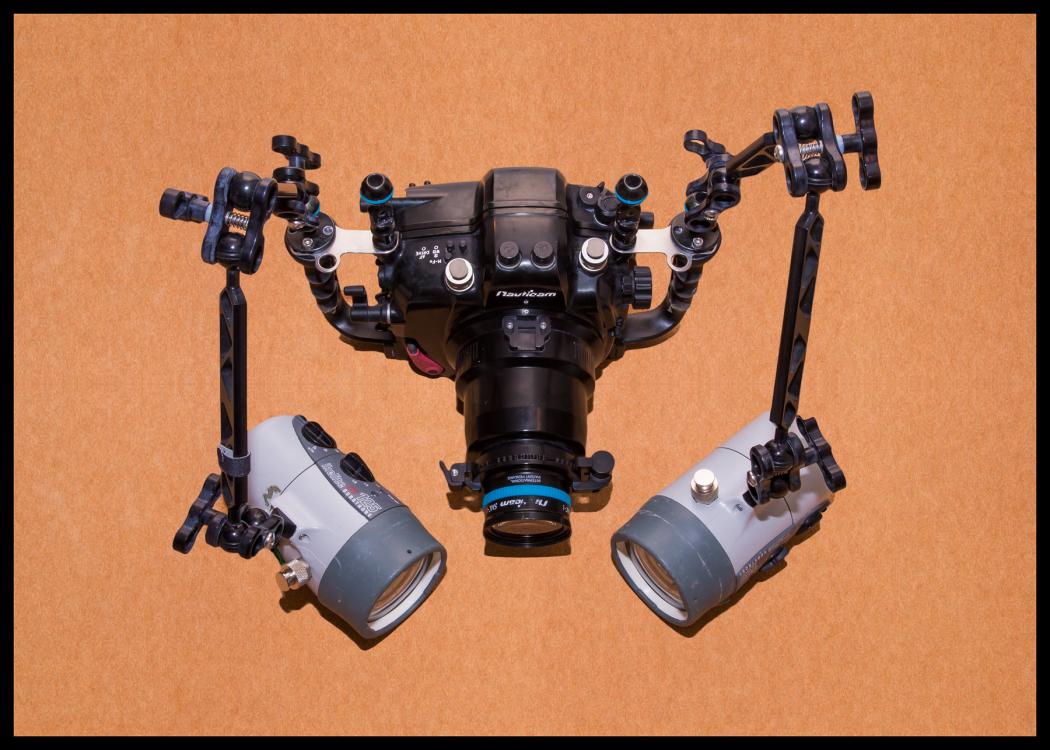
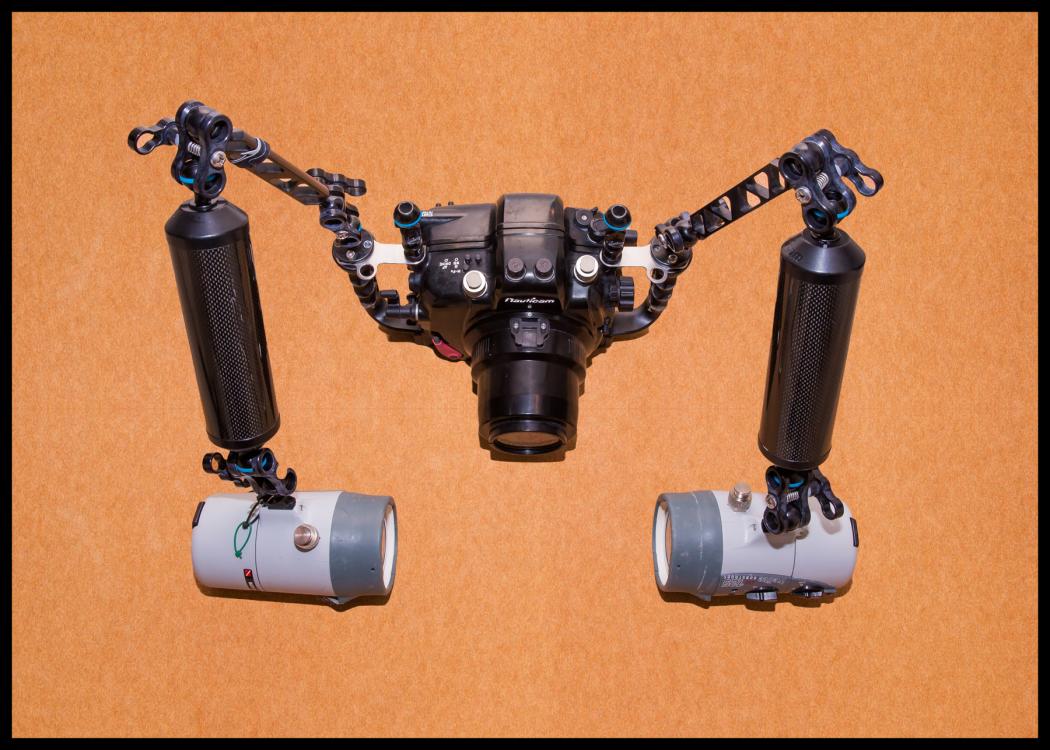
Two-strobe lighting techniques
Wide-angle lighting
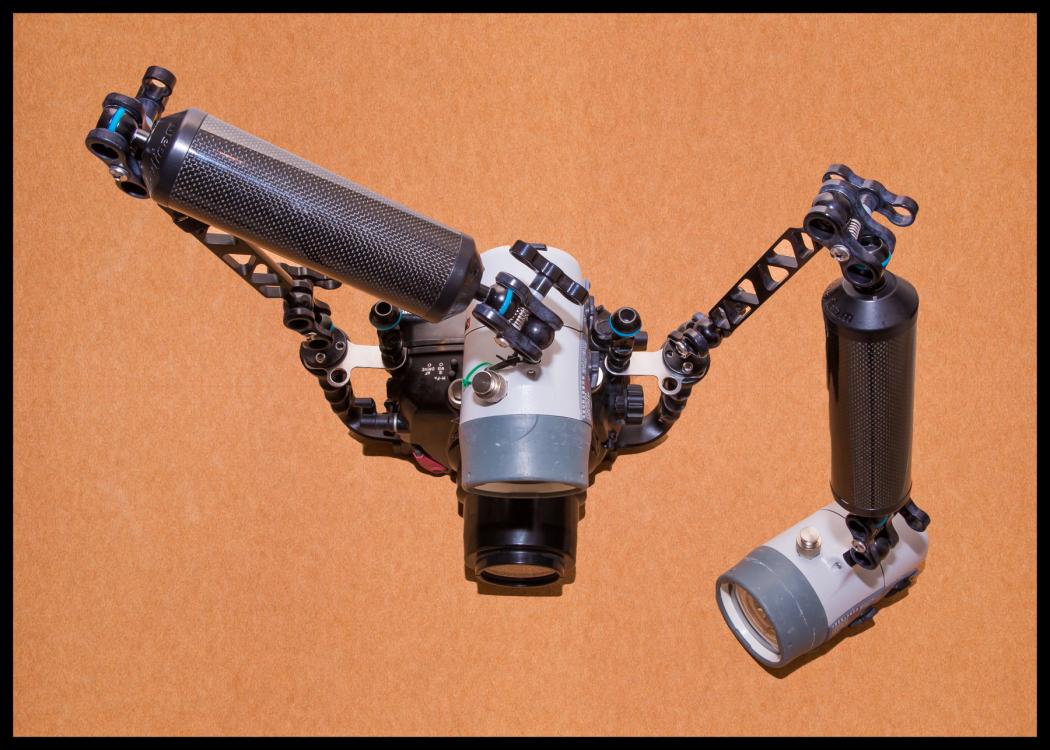
The basic setup for wide-angle underwater photography is to extend both strobe arms bilaterally. Angle each strobe slightly outwards, away from the center of the camera. This helps to minimize backscatter. Extending the strobe arms to their maximum length will most likely be required for a reef or wreck scene, but a smaller subject will require the strobes to be drawn in closer to the camera. Use diffusers when shooting wide-angle scenes, they will allow for increased coverage and soften the shadows. Keep in mind that diffusers will decrease the amount of light and contrast in an image; adjust the camera settings accordingly. Position the strobes slightly behind the housing to avoid unwanted light spilling into the image.
Macro lighting
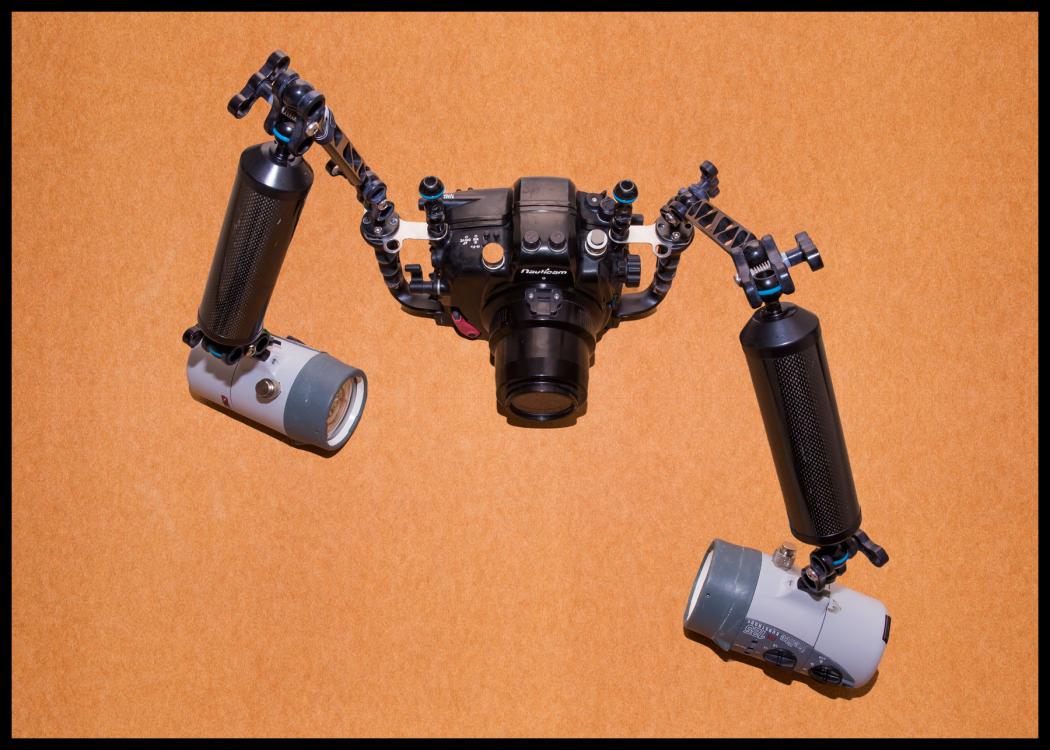
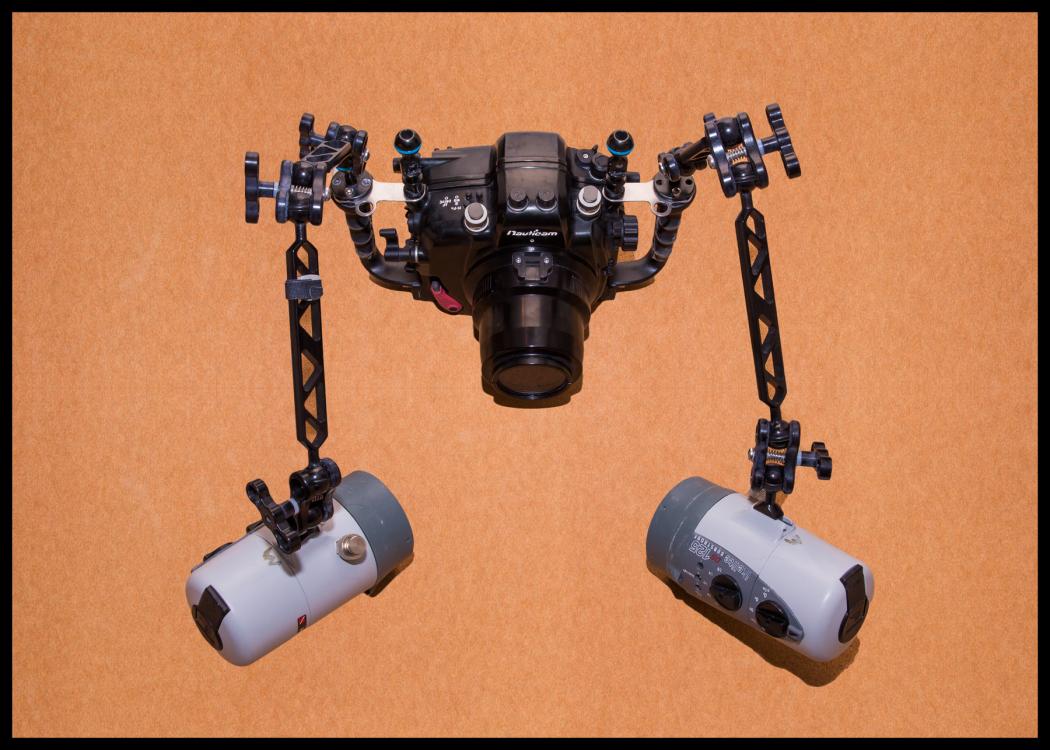
Aiming the light source directly at a subject while underwater can be a problem. The light hits particles in the water and is reflected back on to the camera sensor, creating unwanted backscatter. However, this does necessarily apply when shooting macro subjects because of the close proximity of the camera to the subject. Reducing the amount of water between the camera lens and subject significantly reduces the chance of recording backscatter. A basic strobe position for a macro lighting is to draw the strobes in very close to the camera and direct the light towards the subject.
Super-macro
Super-macro photography involves adding a device that adds magnification such as a diopter, teleconverter or extension tube. In theory, most strobe positions and lighting techniques can be modified in some form and applied to super-macro subjects. To be effective, the strobes should be drawn in close to the camera. Due to the higher magnification, the power output of the light source will need to be reduced to avoid overexposing the image.
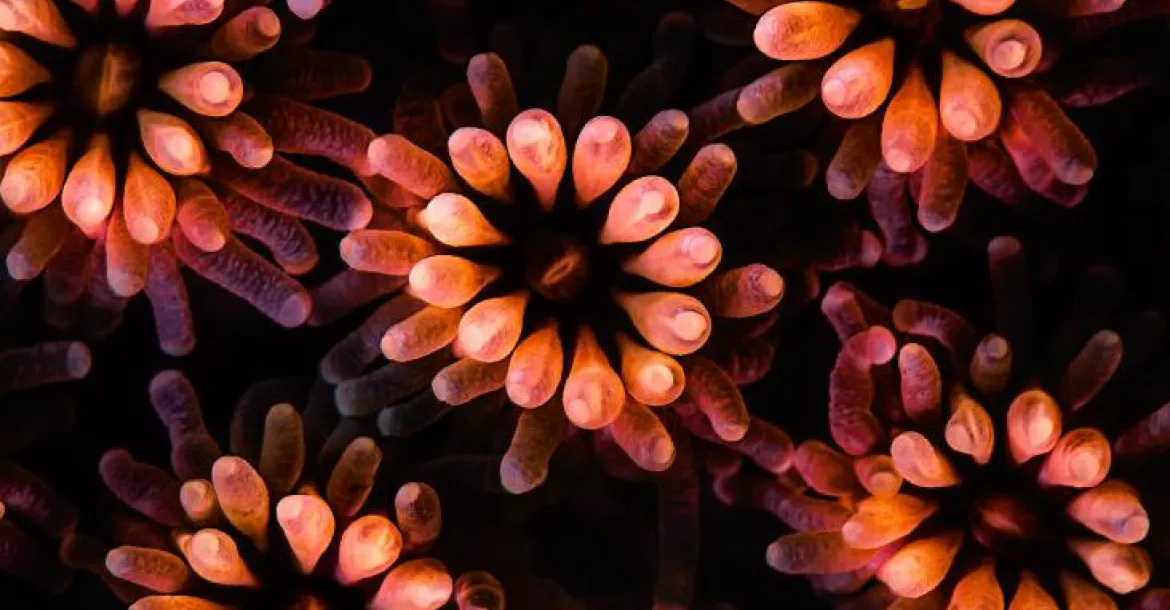
Cross lighting
A method by which both strobes are pointed inward towards the subject. This lighting technique creates a lovely quality of light and gives the image a nice balance. Increasing the shutter speed will create a black background, produce vivid colors and provide depth.
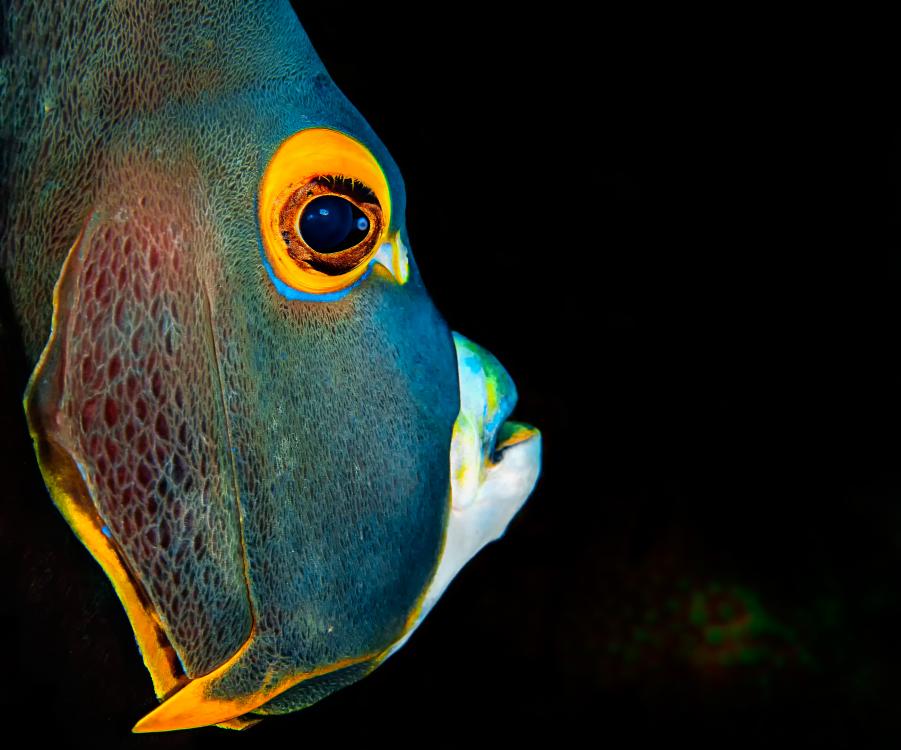
Front and side lighting
Position one strobe over the lens port at a 45-degree angle facing the subject. Place the other strobe to the left or right of the camera, depending on the desired effect. Position the strobes so the edge of the cone of light gently hits the subject. This technique gives the image a three-dimensional look.
Diagonal lighting
Diagonal lighting will illuminate the subject, nicely providing texture, color and dimension. To achieve this effect, place one strobe at the top right, and the other at the back left; or vice versa. The height and angle of the light depends on the subject and desired effect. Experiment with various strobe power ratios, set the strobes manually and take control of the lighting situation.
Inward lighting
If the subject is hidden in a crack or crevice, pull the strobes in very tightly and aim them towards the camera lens. This helps to eliminate unwanted shadows. This technique is most effective when shooting super-macro subjects because of the increased magnification and short working distance from the lens to the subject.
Snooting
Snoots have become very popular in recent years. A snoot is a device placed on a light source used to direct light onto a specific portion of a subject. This creates a spotlight effect, highlighting the subject and blocking out distracting backgrounds. Snoot lighting grabs the viewer's attention, produces vivid colors and creates a wow-factor. Learning to use a snoot requires patience and perseverance. Trial and error is part of the process; but when success strikes, and that stunning image is captured, it is very rewarding.
Off-camera lighting
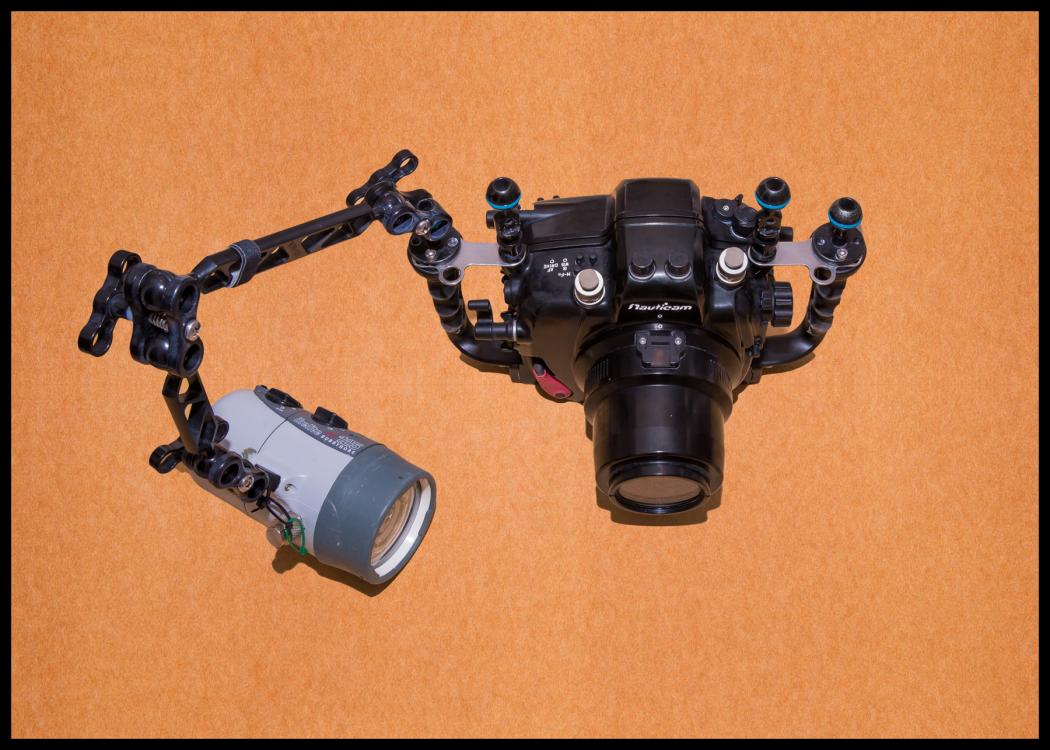
Using this technique requires thought and preparation. Whether the off-camera light source is placed on a wide-angle wreck or behind a translucent leaf fish, the images will be creative, dynamic and eye-popping. The strobe will be detached from the housing, and hand-held or placed on a tripod. Several triggering mechanisms can be used to trigger the off-camera strobe. Using an extended sync cord is a good way to begin experimenting with this technique. For more creativity and flexibility, investigate fiber optic triggering systems.
Get creative with multiple light sources
It is the angle of light that ultimately determines the quality of light. Using more than one strobe opens the door for an endless array of lighting possibilities. Experiment with unfamiliar lighting techniques and apply changes to favorite tried-and-true methods. Visualize how the light will fall on the subject before pressing the shutter, attempt to “see” the image before it is captured.
In the words of Ansel Adams, “The concept of the photograph precedes the operation of the camera. The print itself is somewhat of an interpretation, a performance of the photographic idea.” Be creative, explore and observe.
Tips and hints:
- Proper buoyancy is perhaps the most important factor in becoming a good underwater photographer and diver. Practice buoyancy skills often.
- Disturbing the environment, moving or harassing animals for the sake of capturing an image is unnecessary and unacceptable.
- Strobes are most effective when the subject is 1m (3ft) or less from the camera.
- Always perform a pre-dive check, making sure all strobes are firing correctly before the dive.
- Take control, shoot in RAW, use manual settings on the camera and strobes.
- Experiment, try new techniques.
- Think outside the box!


")


 the flat-bottom and the Ses Fontanelles I.")