Nudibranchs are a worldwide favorite for macro photographers, often leading divers on a “wild slug hunt” across the globe. Once these little gems capture your attention, it is very hard to break out of their magic spell. A gateway critter, if there ever was one, the nudibranch combines the beauty of our ocean and natural history in a photogenic and scientific symphony like no other marine animal.


Contributed by
Factfile
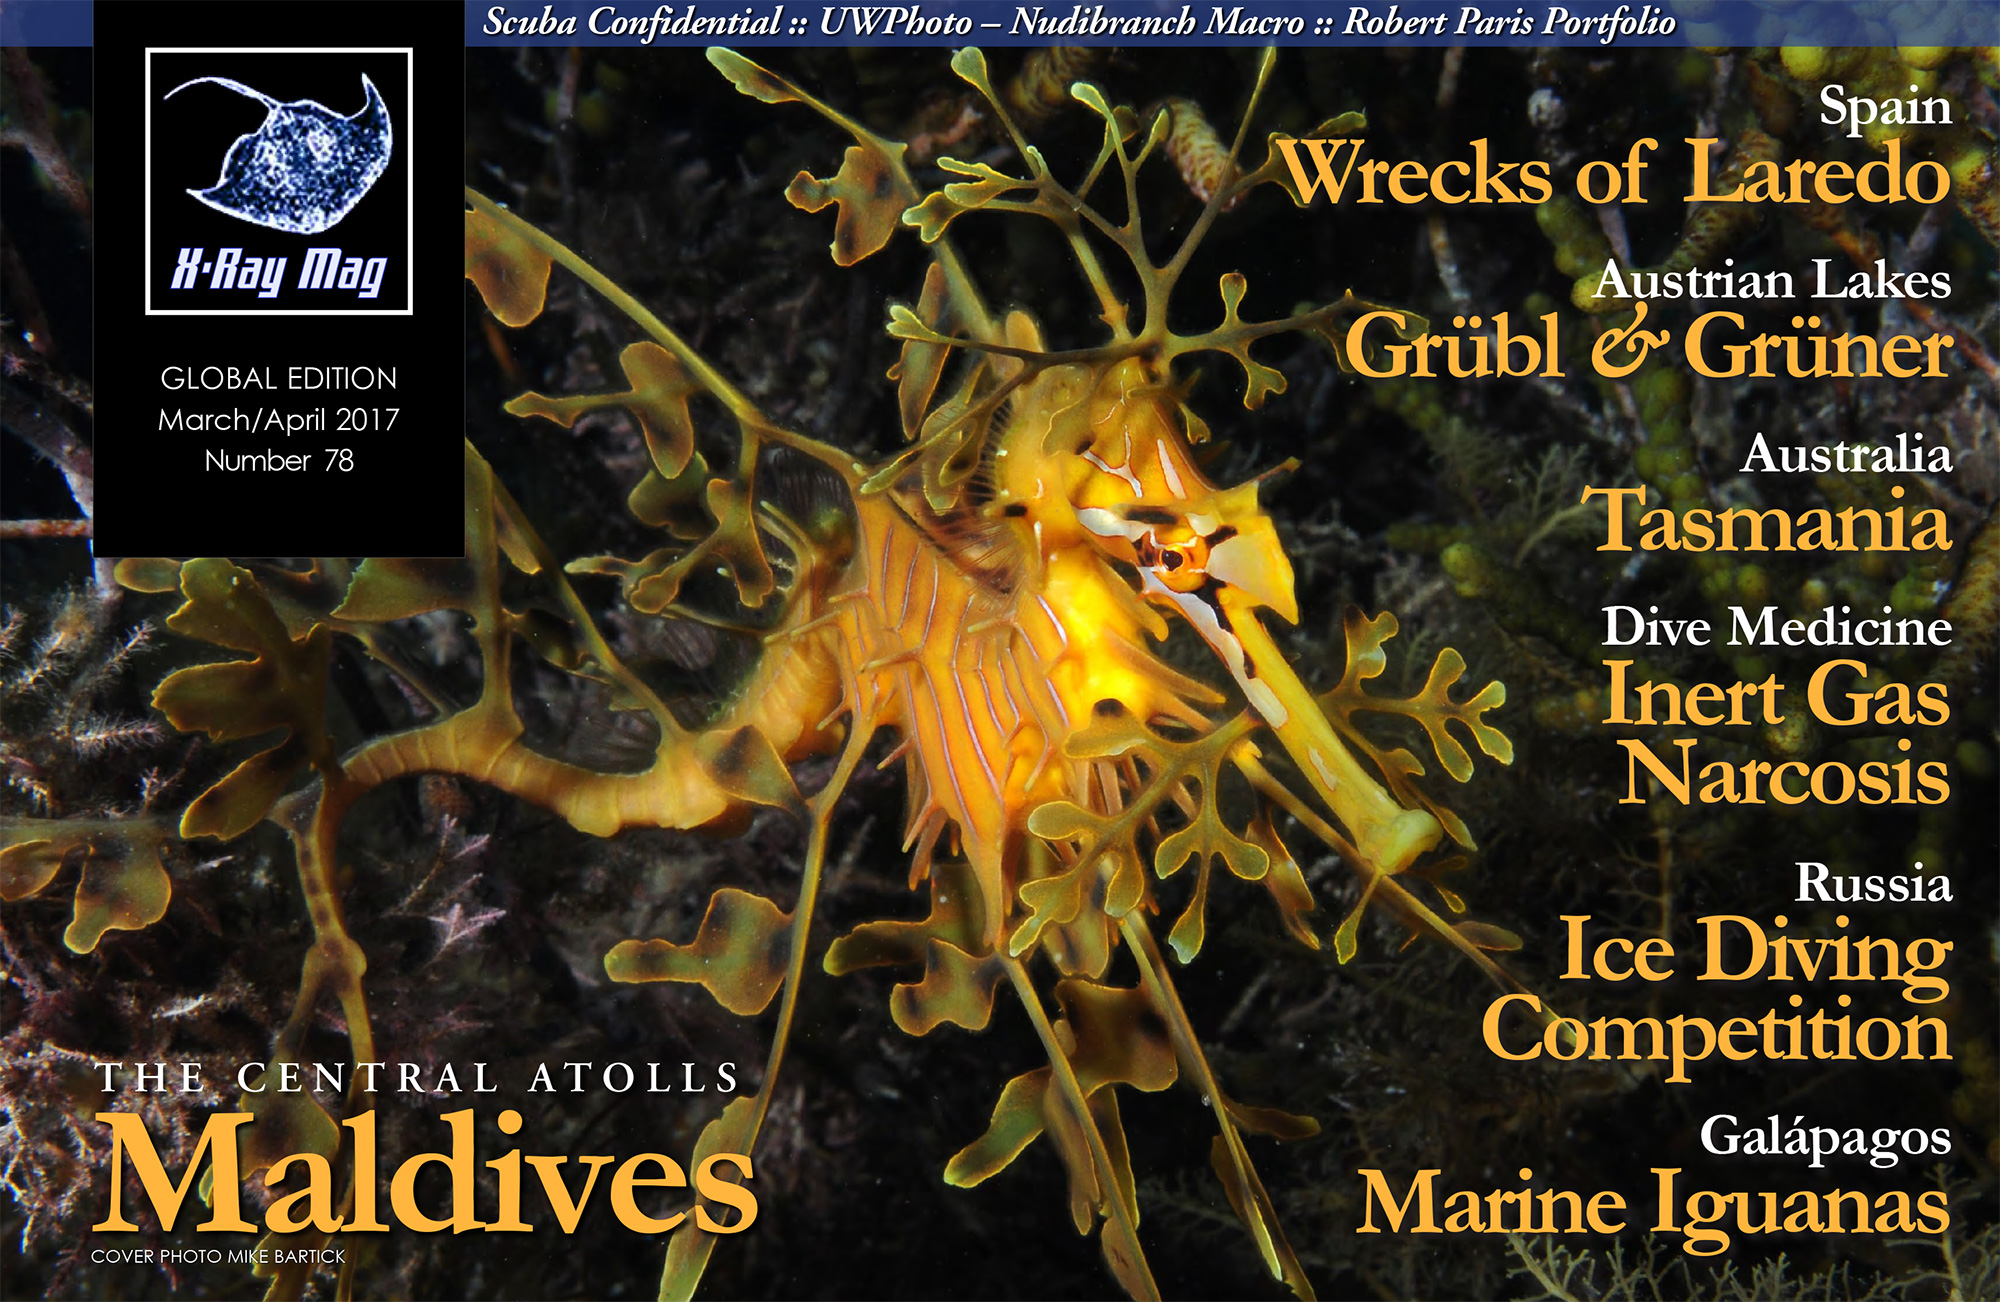
Mike Bartick is a widely published underwater photographer and dive writer based in Anilao, Philppines.
A small animal expert, he leads groups of photographers into Asia's underwater realm to seek out that special critter.
For more information, visit: Saltwaterphoto.com.
Often referred to as slugs due to their evolutionary path, the grand designs of nudibranchs are as fascinating and varied as there are slugs themselves. Each one of them has evolved in a special manner to survive and reproduce in the many different and challenging habitats in which they are found. Cold water to warm water, benthic or pelagic and at every depth, nudibranchs occur globally and have even been found in brackish rivers.
Shooting photos of sea slugs is often the way many macro shooters start out. They shoot various finds from each dive, then look them up in a marine species identification book. This often results in a collection of basic ID photos. While this is a common path for an underwater photographer to take in learning the craft, it often sets one up for bad habits down the road. There eventually comes a time when shooters have the desire to take their images to a different level, but breaking the habit of shooting ID photos can often be a challenge. One of the things that has helped me to shoot more creative images of nudibranchs began with learning about them first.
Knowing the food source of a nudibranch is an elementary yet effective way for hunting nudibranchs. Tunicates and algae are a great place to start, followed by hydroids and so on. It also helps to know a little about the anatomy and biology of nudibranchs.
Anatomy in a nutshell
Gill plume and cerata. The word “nudibranch” actually breaks down to two parts: “naked” and “gill”. Most sea slugs have some kind of gill, or gill-like structure, which are clearly visible. Some (gill structures) are protected and therefore not visible, like in the case of plurobranchs or sidegill slugs. Different gill structures help to differentiate the species. Dorids have a visible gill plume while aeolids have cerata. Each makes direct contact with water in various ways and enables the sea slug to respire through conventional gas exchange.
Rhinophores. This is a sensory organ located at the front of the subject that helps nudibranchs smell and detect food or prey. Rhinophores are varied in shape, depending on the species. Some are finned, some are smooth. Some retreat into a protective crown, while others retreat into a protective sheath. For photographic purposes, the rhinophores should be regarded as the eyes of the nudibranch.
Coloration and texture. The gaudy colors of a nudibranch serve as a visual defensive mechanism, which repels and warns predators of certain discomfort or death if they bite or consume the nudibranch. The small decorative dots along the foot of the nudibranch are oftentimes acid-secreting glands.
Behaviors. Mating takes place when two nudibranchs of the same species align themselves along the right sides where the reproductive organs are found. Mimicry of soft or hard corals, algae, even sponge make good subject matter for images. Egg laying is also a great behavior to capture. Oftentimes, the eggs are brightly colored, being just as colorful as the slug that has laid them.
Diet. Nudibranchs are extremely selective in their diets, feeding on only one food source. There are those that feed only on sponges or hydroids. There are also cannibal egg feeders and cannibals that feed on other nudibranch species.
Photo techniques
For shooting sea slugs, technique can vary based on the species or size of the slug you find or set out to find. The macro, super-macro and wide-angle macro effect are the three main ways of shooting them.
Macro. Standard macro using a 60mm lens is where many shooters enter the nudibranch world, using an SLR for the first time. Offering a close working distance and slightly wider angle of view, a 60mm lens is very forgiving and perfect for hunting random sea slugs.
Super-macro. Macro with a longer lens, such as the Nikon 105mm or Canon 100mm, are a bit more specialized, offering a narrowed angle of view with a slightly longer working distance. The narrow angle of view makes “filling the frame” a bit easier, and the longer working distance permits the use of diopters for super-macro. For that reason alone, it is a game changer. Both the 60mm and 100/105 offer the same magnification of 1:1. It is only the angle of view within the frame and working distance that set these two lenses apart.
Wide-angle macro. The wide-angle macro effect is achieved using a wide-angle lens, either with or without a teleconverter. I use the Tokina 10-17mm fisheye lens behind a Zen port. If I add the teleconverter, I also need to remember that my focal length will now be fixed, as the book gear will not mesh. And more importantly, I need to remember to use an extension ring.
Good super-macro images can be very frustrating to create, as there are a couple of challenges that beset the shooter. Depth of field can be extremely narrow using diopters. This is exaggerated even more by the nearness to the subject. Stopping down to a minimum of ƒ/22 is a good start to gain some depth of field, as desired.
Lighting becomes an issue when stopping down. If you need more light, use the ISO setting and increase it to 100-160. Be careful with the ƒ-stop, as diffraction now becomes extremely relevant.
Movement and super-macro
Technique is vital to stabilize your camera when releasing the shutter. Make your camera light enough to eliminate wrist fatigue but heavy enough underwater to get stable. Placing your left hand under the lens port also helps to stabilize the camera.
Choose calm days or situations for super-macro shooting and avoid surge at all costs. Pay attention to the caber of your subject’s rhinophores or orientation within the frame.
Macro and super-macro is so much more than just making small things big. Try to create different compositions or use a variety of ƒ-stops on the same subject to get a feel for what can be done to create something a little different. Study your subject and try to bring out any unique behavior and function.
Once your subject is located, shooting photos of it takes on a whole new challenge. Something that looks very simple can sometimes become quite frustrating, as these little guys can put up quite an opposition once the strobes begin to fire. The light from a modeling torch used for focus can also irritate a sea slug and cause them to turn their heads away from the lens.
Creating drama with lighting
Strobe angle and power are always my first choice for creating drama in an image. Employ this, coupled with capturing nudibranch behavior and using correct technical settings, and suddenly your standard ID photo becomes something unique and beautiful.
Snoots. Another tool that I tend to rely upon for lighting is a snoot. Using a snoot does a couple of things, which include eliminating the immediate surroundings in your image. This is particularly helpful for subjects in a busy habitat. A snoot also works well with translucent subjects, as it creates a glowing effect that seems to radiate from within the subject.
Wide-angle macro. For larger nudibranchs, the wide-angle macro effect can open your portfolio into a whole new realm. Wide-angle macro, or WAM, allows a shooter to create different compositions and can be plenty fun to do.
Similar lighting methods and strobe angles for the WAM effect prevail. I prefer using a Tokina 10-17mm fisheye lens on a crop sensor camera and using a small dome to get the wide-angle macro effect. Keeping the outside edge of the strobe head in line with the front edge of the housing and aiming slightly back is very effective. Keep the shutter speed high to control the ambient light and watch for strobe flaring. If flaring occurs, adjust the strobes in a bit further. I like to use my index finger just in front of the lens port to protect it from bumping the reef when making the approach. High ƒ-stops or low, the depth of field is much greater and more forgiving then a macro lens.
Different composition ideas
Alleni and sun ball. After seeing a few images posted on public media of a sun in the frame with a nudibranch, I decided I had try this myself, however, not on a composite or double exposure. I wanted to capture this image naturally, in the camera and on a single frame. We set out to explore and found one of my favorite Anilao superstar slugs to practice this technique. I could not have been happier with the results and have tried to recreate this image many times.
Filling the frame. This is one of my favorite techniques for shooting macro. The object is to fill the frame with the entire subject in a way that is creatively appealing. This technique is great for creating the WOW factor or the appearance of a monster slug. I love bright colors as well for this type of image as add brightness and a punch of color to the ordinary black background portfolio. Flatworms work well for this too so don't be a snob and share the love.
The glow. The glowing effect will take a little practice, mostly in recognizing the subjects it will work with the best. As mentioned, translucent subjects will carry the light well, using a side lighting method with your strobe, get close, get low and try to shoot up in a way that there is nothing behind your subject.
Making it “black in back”. Very simply, shooting anything where there is nothing behind it allows you to capture your subject with a black background. By the same token, you can also get blue or pastels.
Background or ambient light is controlled through shutter speed: 1/200 in an SLR will create a jet-black background, so nothing is behind your subject. If it is a nice sunny day, try slowing down the shutter and letting in the blue, like a dimmer switch on a lamp. For pastel colors, wide open ƒ-stops, such as ƒ/5.6 or ƒ/7.1, are great for creating colorful bokeh effects, or out-of-focus areas as backgrounds.
At the end of the day, hunting for sea slugs is almost as much fun as creating images of them. Challenge yourself to break away from old habits and dare to try something new. You might be surprised at what happens within the camera instead of what is achieved through Lightroom and Photoshop software. The above techniques and ideas work well with any critter, so experiment a little and have some fun. Now get out there and have an adventure! ■


")


 the flat-bottom and the Ses Fontanelles I.")