The GoPro has changed the underwater video game forever. This handy camera seems easy to use but a quick browse of YouTube underwater videos tells the real story: Ninety percent of such GoPro videos are wobbly, blue, poorly-framed and badly-lit video footage. Fortunately, with a few simple steps, a diver can greatly improve the quality of their GoPro images.
Contributed by
Factfile
Dr Pete Bucknell is an underwater filmmaker, a cave diver, a music professor and a public speaker.
His publication, The Underwater GoPro Book, has introduced divers to methods of getting the most out of their cameras, and following better and safer practices for shooting video while diving.
He conducts workshops at dive conventions and events, and instructs in New York City.
Today, divers need no longer be intimidated by the price and size of the GoPro underwater video cameras. There are three types of new videographers: divers who are happy with their footage, divers who are so dismayed at their footage that they leave the GoPro in the closet, and divers who investigate ways to get better footage by reading, asking questions and perhaps even taking a class.
For the last group, there are a few simple things a diver can do to vastly improve the quality of their GoPro footage. Unfortunately, spending more money is one of these things.
Filters
If you look at the GoPro cameras on the dive boats, you will notice that there are often divers who haven’t spent the extra money on a filter. Don’t be one of them! GoPro makes very affordable filters, which are well made, simple and effective, that will improve the quality of your footage by taking out the cyan color typical of underwater images.
There are two basic colors of filters: red (orange) and magenta. The red filter will cut out some of the blue from your footage, and the magenta filter will cut out the green. Choose the appropriate filter for your diving environment.
Camera rig
Be aware that the GoPro "Dive Housing’" uses a different size filter to the GoPro "Standard Housing". The ten-dollar filters that fit inside the GoPro are problematic and should be avoided. They will distort your images and won’t allow you to take the filter off for surface shots. Unless you like a heavy orange or magenta tint in your shots, taking the filter off is a good idea if you are shooting scenes above the surface, such as divers entering the water.
As we know, the GoPro is a tiny camera. One thing many divers don't know, however, is that there is an inverse relationship between the size of an underwater camera rig and its inherent steadiness in the water. The bigger a housing is, the steadier it will be. Shooting with the GoPro by itself, unmounted, makes it extremely difficult to get steady footage. Mounting a GoPro on something will help a diver get a steadier shot. There are a variety of mounts available from GoPro. I personally recommend the Jaws Flexclamp as part of your arsenal.
There are several brands of telescopic poles which also help greatly with the task of holding the GoPro steady. A tray for the camera housing and two lights are the optimal setup. The lights and the arms that hold them will help steady the camera.
Video lights
Buying a video light may be a daunting purchase as lights usually cost more than the GoPro camera itself. Abundant lighting is vital for the GoPro. We see jaw-dropping films of skiers and skydivers and expect the same for our underwater shoots, but the water actually cuts out more light than most of us realize. Our eyes adjust to the darker underwater environment and the GoPro can automatically adjust its iris to a certain extent. This enables it to operate well in shallow depths when the water is clear and the sun is shining.
Beyond these conditions, the GoPro will try to automatically amplify the video signal, giving the footage a grainy look. Of course, the color will diminish with every increment of depth. So, if you are diving on an overcast day without sunlight, take a video light.
Skills
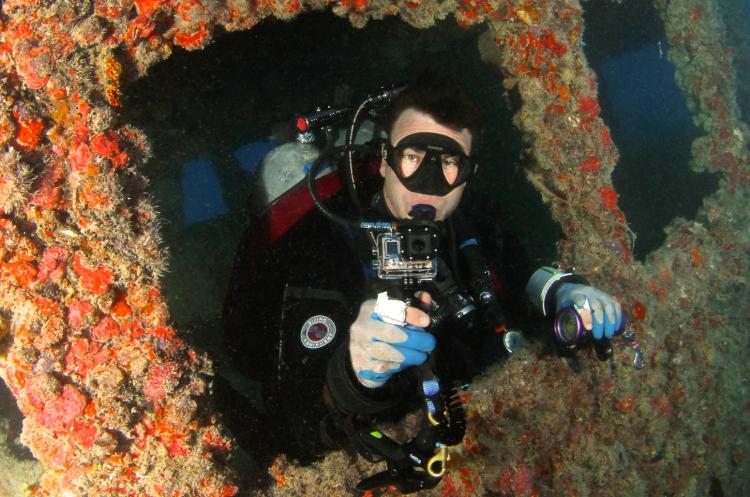
Shooting techniques need to be practiced. A diver with excellent buoyancy is halfway there. I find that cave divers make good videographers as they have been trained to lie still in the water column without moving. Quite a few dive instructors have taken my GoPro course and I usually just have to work on their camera hold, camera movement and framing, with some fin kick modifications to iron out the bumpiness. The steadiest shots come when a diver keeps their limbs stationary. In a wreck, this can be achieved by making contact with a part of the wreck. In general, don’t flap your hands and fins around while shooting.
Etiquette and safety
Good diver behavior and etiquette seems to have gone out the window with the proliferation of the GoPro. New videographers tend to concentrate on the wrong things, or they just have their priorities backwards. Safety should always be the first consideration. If the diver does not know how much gas they have left, their depth or what is happening around them, then they should not even be recording. It only takes a few seconds to check on these things and it could save a piece of coral, soothe an angry buddy or it could even save a life.
The main thing to remember is that the shot is of secondary importance to everything else, and that includes other divers’ enjoyment. Quite often, I find that I would get a better shot of a critter if I wait until everyone has moved off. Finding your own critters gives you first dibs on shooting, which is ideal. However, other divers will like you more if you step aside and let them take a look in a timely manner.
Another behavior that the GoPro seems to encourage is that of divers charging toward marine life in attempts to film them before they swim off. This almost always results in the critters fleeing in the opposite direction; thus, it is always more productive to approach them calmly and slowly.
Settings
Read up on GoPro settings. Don’t just go with the default factory settings. It is best to choose an appropriate resolution and stick to it. Changing your resolution can be confusing when it comes to editing as software compatibility varies; research is required to understand what is going on, as well as the pros and cons for each resolution. The Superview setting causes some distortion at the sides of the frame; this is not a bad thing for many types of shots, but some experimentation will show you the effect that this resolution has on subjects moving in and out of the frame.
Frame rates, on the other hand, can be altered to great effect for different conditions. A lower frame rate can really help in lower light situations. The higher frame rates offered on the GoPro are very useful when it is time to slow down footage in the editing process; twenty-four frames per second can yield good results underwater. The Protune setting is turned off by default. When people come to me with their new GoPro, I will usually turn Protune on for them. Simply put: Protune intensifies the footage and makes it more robust and hence easier for color correction.
Get used to the buttons before going on a dive. Take time to play with the GoPro on dry land. Learning the timing of button-presses will help you avoid the accidental switching of modes during a dive. Try to develop some muscle memory so you are not distracted by the camera functions when underwater.
In short, the GoPro is an amazing little camera. It is capable of shooting incredible footage if handled the right way. ■


")


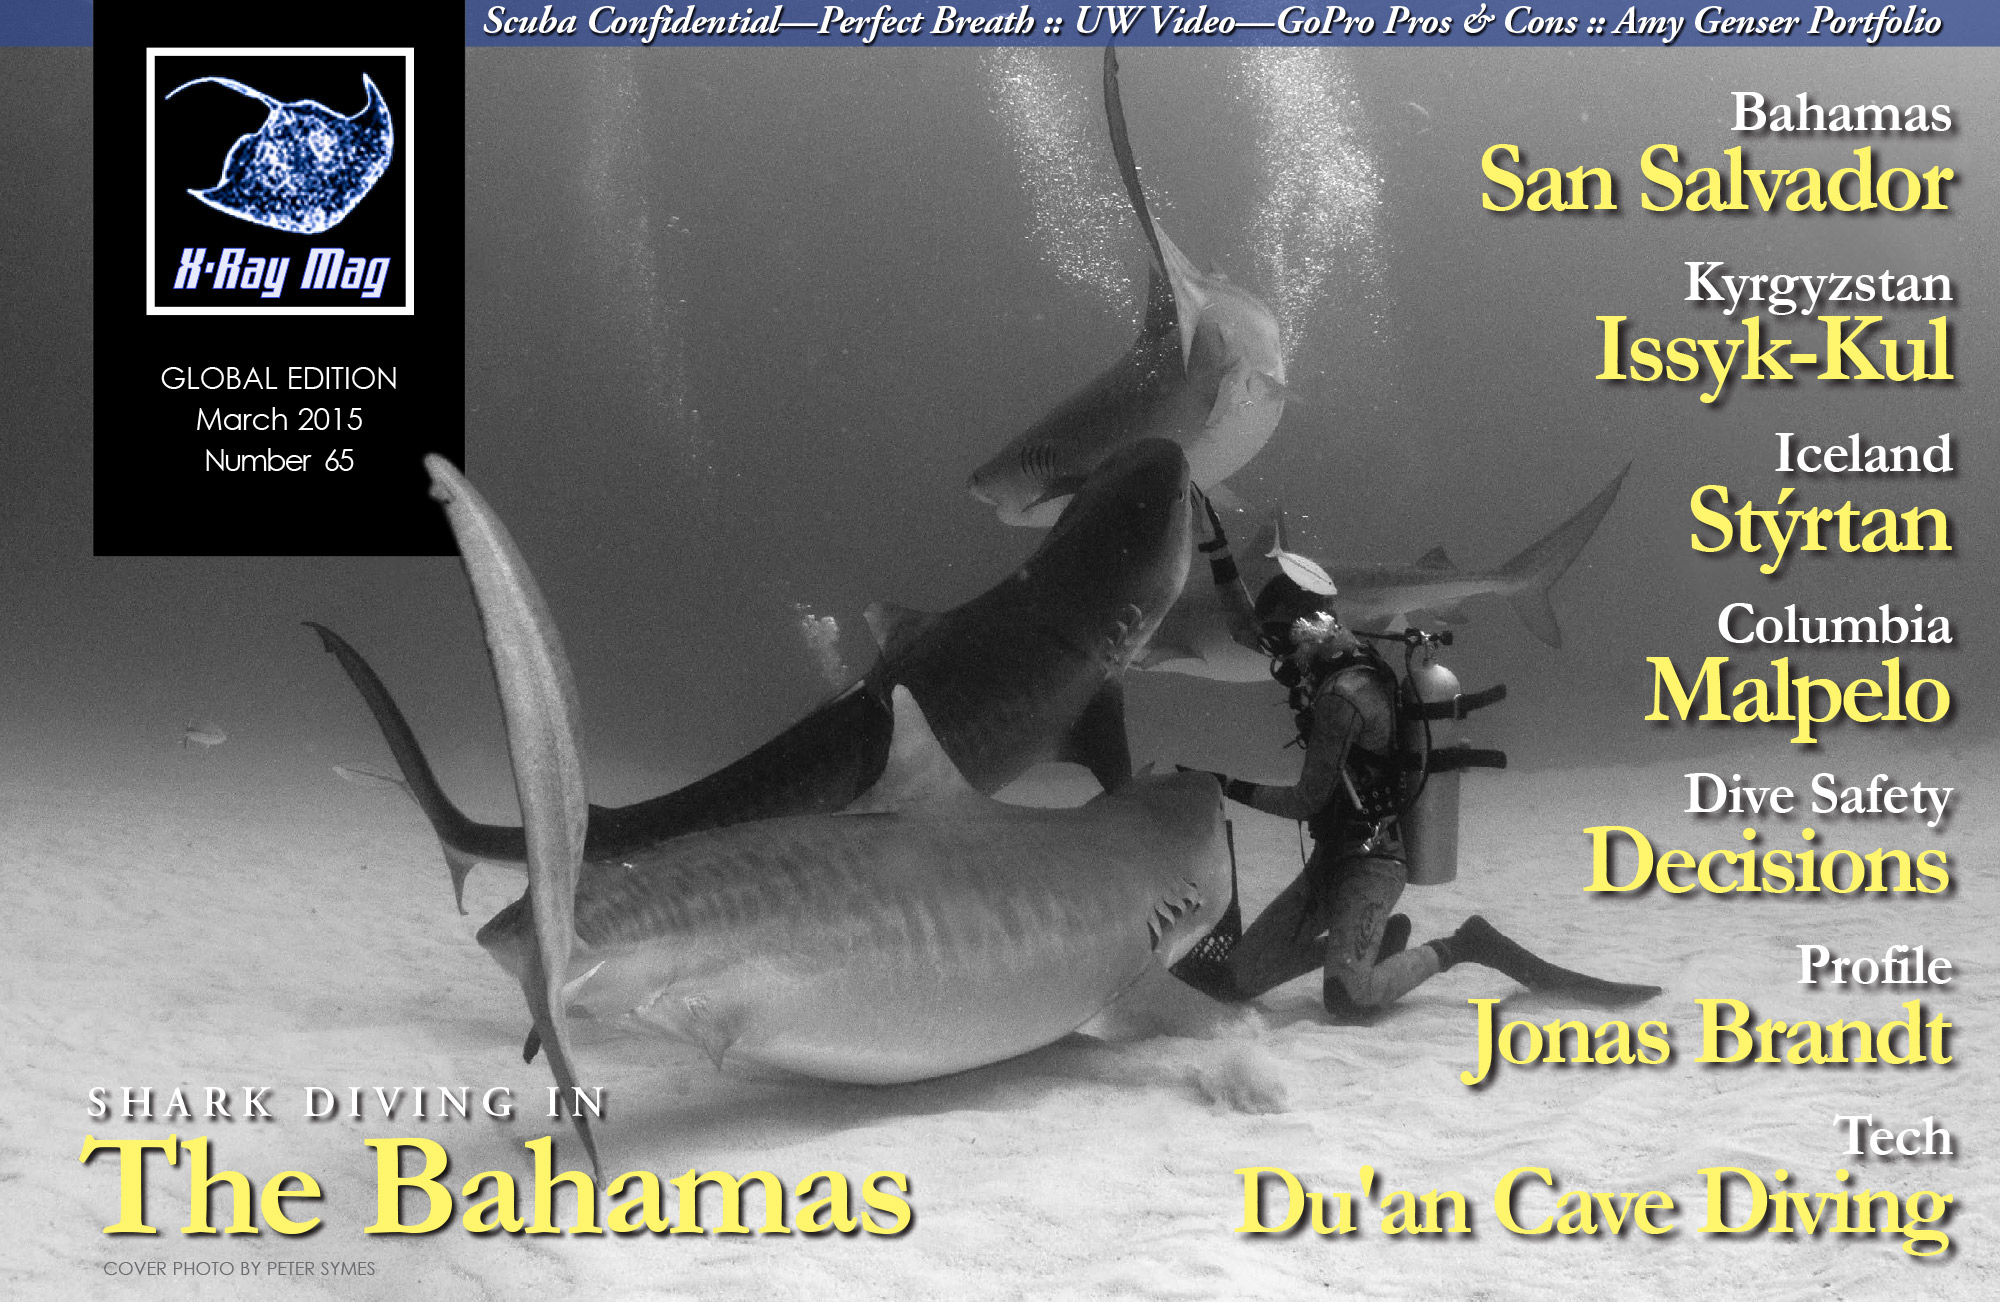
 the flat-bottom and the Ses Fontanelles I.")